How To Create Heatless Beach Waves Using 3 Easy Methods
We’re about to make your summer hair fabulous – you can thank us later.
With lazy days around the pool and fine alfresco dining under sunny skies calling your name, ask yourself; do I really want to spend most of my summer styling my hair? We say – put.down.your.tools. Curl your hair without heat this summer using our 3 easy methods.
Summer is the perfect time to cut your hair some slack and give it a break from your hairdryer, straightener, and curling wand. These hot styling tools may work wonders at helping you to create the best “dos” but as the saying goes, too much of a good thing can be bad. And the “bad” we’re talking about is damaged and brittle strands that have literally had the life sucked out of them.
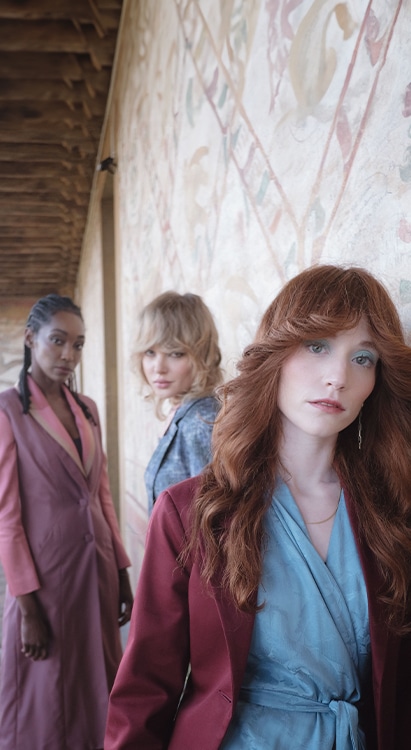
Revive your hair this summer by going heat free … and still rock those beautiful, natural-looking beach waves.
The added heat of the summer months provides the best opportunity to forgo heat styling so that you can opt for natural hair beauty. Air drying your hair is the perfect way to embrace its natural texture, bends, and kinks! Pair this carefree hair routine with the best luxury haircare products, and you have a recipe for fabulous heatless waves that will fit right in with the energy of the season.
Hair products for beachy waves
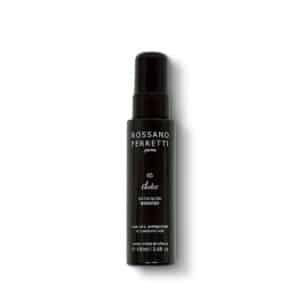
Rossano Ferretti Parma’s Favoloso natural hair movement enhancer. This is the ultimate secret to creating beach waves without the need for any heat!
Inspired by summers on the beaches of Sicily, the Favoloso Spray invigorates, softens, and conditions all hair types, to help create amazing beachy waves.
We also love this product because it:
- Contains over 98% naturally derived ingredients
- Uses vegan proteins to make hair pliable
- Leaves no sticky residue
- Makes hair look healthy with a natural gloss
- Is free of parabens and other harsh chemicals
Use Favoloso spray to create heatless waves using the following super easy methods:
Heatless beach waves method 1:
Step 1: Remove excess water from freshly washed hair by gently drying it with a soft towel – ensure that you pat your hair dry to avoid breakage caused by friction.
Step 2: Spray Favoloso Movement Enhancer onto the lengths of your hair.
Step 3: Tilt your head forwards and gently scrunch your hair with your hands, spraying more Favoloso as required. This will help texturise, add motion and volume to your hair.
Step 4: Allow your hair to air-dry without brushing it … and that is all! Enjoy beautifully texturised beachy waves without the use of a heated tool.
Heatless beachy waves method 2:
Step 1: Spray Favoloso Movement Enhancer throughout the lengths of freshly washed towel-dried hair. Remember to avoid rubbing your hair dry, rather soak up water by patting your hair to prevent hair breakage.
Step 2: Split your hair into 2 sections, spray some Favoloso and create a braid on each side. Add some Favoloso on each braid as required.
Step 3: Let your hair air-dry completely before you undo the braids.
Step 4: Apply Brillante Oil to your hands and then scrunch your hair to add extra shine. Enjoy beautifully texturised heatless hairstyles without the use of a curling wand.

No heat waves method 3:
Step 1: Gently remove excess water from freshly washed hair by patting it with a soft towel. *Hair is at its most vulnerable when wet so avoid rubbing it vigorously to remove water.
Step 2: Work through small sections of hair at a time, spraying Favoloso Movement Enhancer throughout the lengths of your tresses.
Step 3: Wrap each section of hair around your middle and index finger in the same way you would wrap your hair around a curling wand, and clip in place.
Step 4: Spray more Favoloso and let your hair air-dry completely before undoing the curls.
Step 5: Gently brush your hair if you find your locks are too curly, and then add a few drops of Brillante Oil to add extra shine. TA-DA! Now you have stunning waves that make you feel like you just stepped out of a salon.
Exposing your hair to heat—especially consistently and at high temperatures—causes breakage, dryness, and is overall extremely damaging. Give your hair a chance to breathe this summer by infusing it with love and care and allowing it to dry naturally.
Wavy hair tutorial without using heat!

How to get heatless curls overnight