How to layer hair products


In this article:
- Why Hair Type, Texture & Porosity Matter
- Step 1: Pre-Wash Treatment
- Step 2: Shampoo
- Step 3: Conditioner or Hair Mask
- Step 4: Leave-In Conditioner
- Step 5: Hair serum
- Step 6: Heat Protection
- Step 7: Hair Mousse
- Step 8: Hair oil
- Final words
In my role as Hair Director at the Rossano Ferretti Hairspa at Rosewood Hong Kong, I have the privilege of working with a diverse clientele, each with their own unique hair texture, lifestyle, and goals. One of the most frequent topics we discuss in the salon is not just which products to use—but how to use them, and more specifically, how to layer hair products for optimal results.
Layering hair care products correctly ensures that each one performs at its best. When applied in the right sequence, treatments, conditioners, serums, and stylers can work in harmony to transform your hair’s health, appearance, and manageability.
Whether you’re following every step or tailoring this process to your individual routine, these principles—rooted in professional hairdressing practice—can elevate your entire approach to hair care. But to truly master how to layer hair products effectively, it’s essential to first understand how your hair’s unique characteristics—such as type, texture, and porosity—can influence both your product choices and the order in which you apply them.
Why Hair Type, Texture & Porosity Matter
When it comes to learning how to layer hair products, there’s no one-size-fits-all approach—your hair’s natural characteristics play a crucial role.
- Hair Type (straight, wavy, curly, coily) can determine how much product your hair needs and how easily it absorbs. For instance, fine, straight hair often benefits from lightweight products layered minimally to avoid weighing it down, while thicker or curlier hair may need richer formulas in greater quantity to achieve definition and hydration.
- Texture (elasticity, softness or coarseness) affects how your hair responds to certain formulations. Coarse or frizzy textures may require smoothing serums or heavier creams applied earlier in the routine to lock in moisture, while softer, silkier textures may call for volumising sprays and lighter leave-ins.
- Porosity—how well your hair absorbs and retains moisture—is key for choosing the right treatments and knowing when to apply them. High-porosity hair (often due to damage or colour treatments) tends to soak up moisture quickly but lose it just as fast, so sealing layers like oils or creams should be applied earlier. Low-porosity hair may resist absorption, requiring lightweight, water-based products first to open the hair cuticle gently.
By understanding these factors, you can customise your routine to support your hair’s specific needs—ensuring every product layered contributes to healthier, more manageable results.
If you’d like to dive deeper into understanding your hair’s unique characteristics, be sure to explore our dedicated articles: ‘How to Identify Hair Type, Texture & Porosity’ and ‘What Is Hair Porosity?’ for expert insights and practical guidance.
Step 1: Pre-Wash Treatment
Clients often ask when to use bond-builders versus traditional masks. My rule is this: if your hair is chemically treated or regularly styled with heat, introduce a bond-building pre-treatment once or twice a week. Think of it as strength training for your hair, it restores what daily styling takes away.
How to Apply a Pre-Wash Mask:
- Use on damp hair before shampooing
- Focus application on mid-lengths and ends
- Comb through to distribute evenly
- Leave in for 10–30 minutes, depending on hair condition
- Rinse thoroughly and continue to shampoo
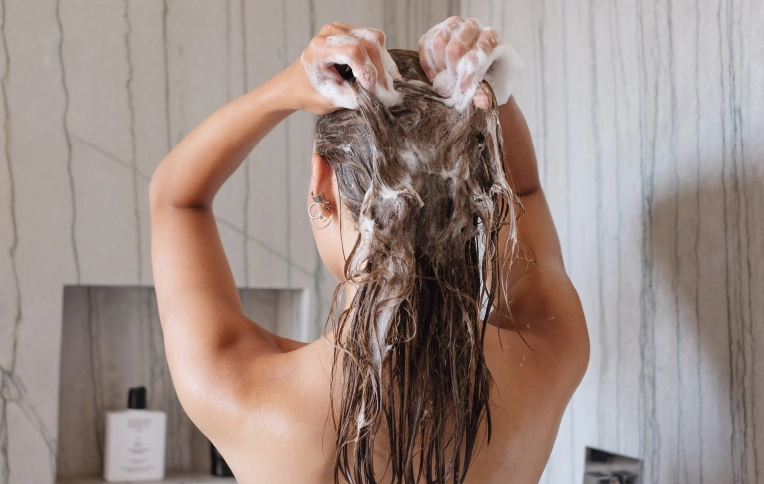
Step 2: Shampoo
After preparing the hair with a pre-wash treatment, shampooing becomes more than just a cleansing step—it’s an essential part of resetting the scalp and strands. A well-formulated sulphate-free shampoo removes product build-up, excess oil, sweat, and environmental pollutants, all without compromising the hair’s natural balance.
In my consultations, I assess not only hair type but also scalp condition. For example, fine hair with an oily scalp may need a volumising or purifying formula, while thick, coarse textures often benefit from moisturising or smoothing shampoos. The goal is always to respect the scalp’s ecosystem while ensuring a clean foundation.
Tip: I often recommend my clients shampooing twice and when there’s heavy build-up, especially after using styling products, they may even need to shampoo a third time. If you’re unsure where to start, The Ultimate Guide to Hair Washing can help you build a routine that really works for you.
Step 3: Conditioner or Hair Mask
Once the scalp is clean and the cuticle has been opened by warm water and gentle cleansing, it’s time to replenish. This is where either a conditioner or a hair mask plays its role.
A conditioner helps to rebalance the hair’s pH and smooth the cuticle, restoring softness and detangling without weighing the hair down. It’s ideal for regular use, particularly if your hair is healthy, fine, or easily weighed down.
A mask, on the other hand, is more intensive. I recommend it for clients with dryness, breakage, or textural damage. It penetrates more deeply into the hair fibre and often contains lipids, proteins, or moisture-binding ingredients to strengthen or hydrate from within.
In-salon, I often prescribe masks for once or twice weekly use, depending on the hair’s porosity and needs. However, masks can also be used after every shampoo for a deeper treatment, especially when hair requires extra nourishment. Before rinsing, gently combing through the mask with a detangler brush can help distribute the product evenly and minimise breakage. On other days, a lightweight conditioner—typically more suitable for finer hair due to its less rich texture—is usually sufficient to maintain softness and manageability.
Step 4: Leave-In Conditioner
This is one of the most important—and most underused—steps in a home haircare routine. A leave-in conditioner works as a primer, protecting the hair after washing and preparing it for styling. It adds slip, reduces tangling, and creates a protective shield against dehydration and environmental stressors. I recommend applying it to the hair and then use a detangler brush to help evenly distribute and to gently remove knots, reduce breakage, and prepare the hair for optimal product absorption.
For many of my clients in Hong Kong, where we experience both high humidity and air pollution, this step is indispensable. A well-formulated leave-in helps maintain hydration throughout the day and can significantly reduce daily breakage caused by brushing or styling.
Step 5: Hair serum
Serums have evolved far beyond simply adding gloss. Today, they act as targeted solutions for a wide range of hair concerns. From frizz control to curl definition, and even scalp health, the right serum can bridge the gap between everyday styling and long-term hair wellness.
In the salon, I recommend categorising serums by function:
- Frizz-control serums: Ideal for humid climates or coarse, reactive textures. These help compress the cuticle and smooth the hair surface, making blow-drying or air-drying more predictable.
- Curl-defining serums: Designed to boost elasticity and shape without stiffness. These formulas enhance texture while reducing halo frizz—a must for anyone embracing their natural curl.
- Scalp and follicle serums: These are applied directly to the scalp to improve circulation, nourish follicles, and support hair retention or regrowth. They often contain ingredients like peptides, caffeine, niacinamide, or plant stem cells.
- Strengthening serums: Aimed at mid-lengths and ends, these target brittle, weakened strands, often with amino acids or protein mimetics to help reinforce hair integrity over time.
Step 6: Heat Protection
If you use a blow dryer, flat iron, or curling tool—this step is non-negotiable.
Heat styling, even at moderate temperatures, can weaken the hair fibre over time. A dedicated heat protectant acts as a barrier between the hair shaft and your hot tools, sealing in moisture and reducing the risk of breakage, dullness, and colour fading.
How to Apply:
- Spray or apply evenly to damp hair before blow-drying.
- If using heat tools on dry hair, reapply a thermal mist or serum designed for dry application.
- Comb through to distribute the product fully before applying heat.
Tip: Make sure you’re using enough product to protect every strand, especially at the ends, where hair is most fragile. And always allow the product to dry slightly before introducing high heat.
For clients who style frequently, combining a reliable heat protectant with an advanced hair drying tool provides an optimal balance of performance and care. Look for a hair dryer where the airflow is ultra-controlled, heat is consistent, and the finish is sleek—without overexposing the hair to damaging temperatures.
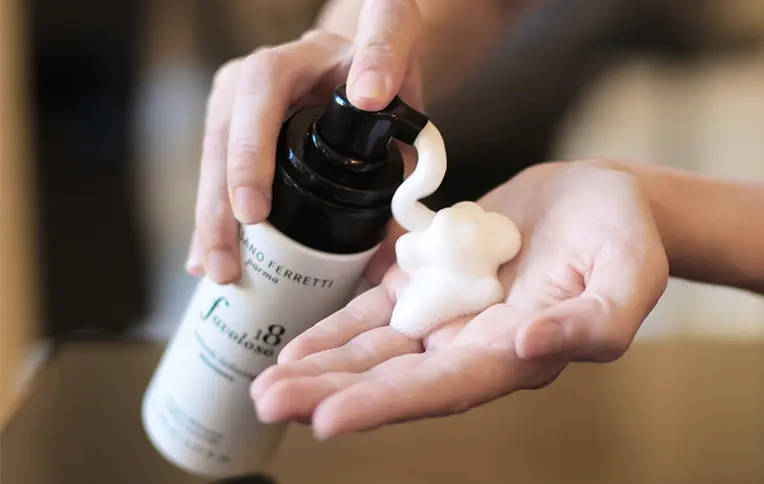
Step 7: Hair Mousse
When I want to create body, structure, or hold without sacrificing natural movement, mousse is my go-to. Today’s formulations are far more sophisticated than in years past—offering lightweight lift, memory, and anti-humidity support without the crunch.
Mousse is especially effective for those with fine or limp hair, or anyone seeking volume at the root. It can also be used to define curls or waves while air-drying.
Tip: For long-lasting bounce and shape, concentrate the mousse at the roots and rough-dry the hair upside-down before refining your blow-dry. The effect is fuller, more lifted hair without stiffness.
Step 8: Hair oil
The final touch in a perfectly layered routine, hair oil offers nourishment, softness, and a light-reflecting finish. It helps seal the cuticle, reduce frizz, protect from the elements, and prolong your style. Used correctly, it smooths natural texture and adds elegance to any look.
Tip: For thick, curly, or textured hair, oil can also be used as an overnight treatment or pre-shampoo mask to deeply condition. For finer textures, use just a trace after styling for shine and flyaway control.
Let Product Texture Be Your Guide
When in doubt about the order in which to apply your hair products, let their consistency be your guide. A good general rule is to layer from lightest to heaviest: start with water-based mists and leave-ins, then move to lotions, creams, and oils. This ensures that lighter products can penetrate the hair effectively, while richer, heavier ones help seal in moisture and add lasting protection. It’s a simple yet effective way to make your haircare routine more intuitive—and more impactful.
Final Words
No two heads of hair are alike, and no two routines should be either. What matters most is that your product layering routine is tailored to your hair type, your environment, and your goals. That’s when the transformation begins—when you stop copying and start customising.